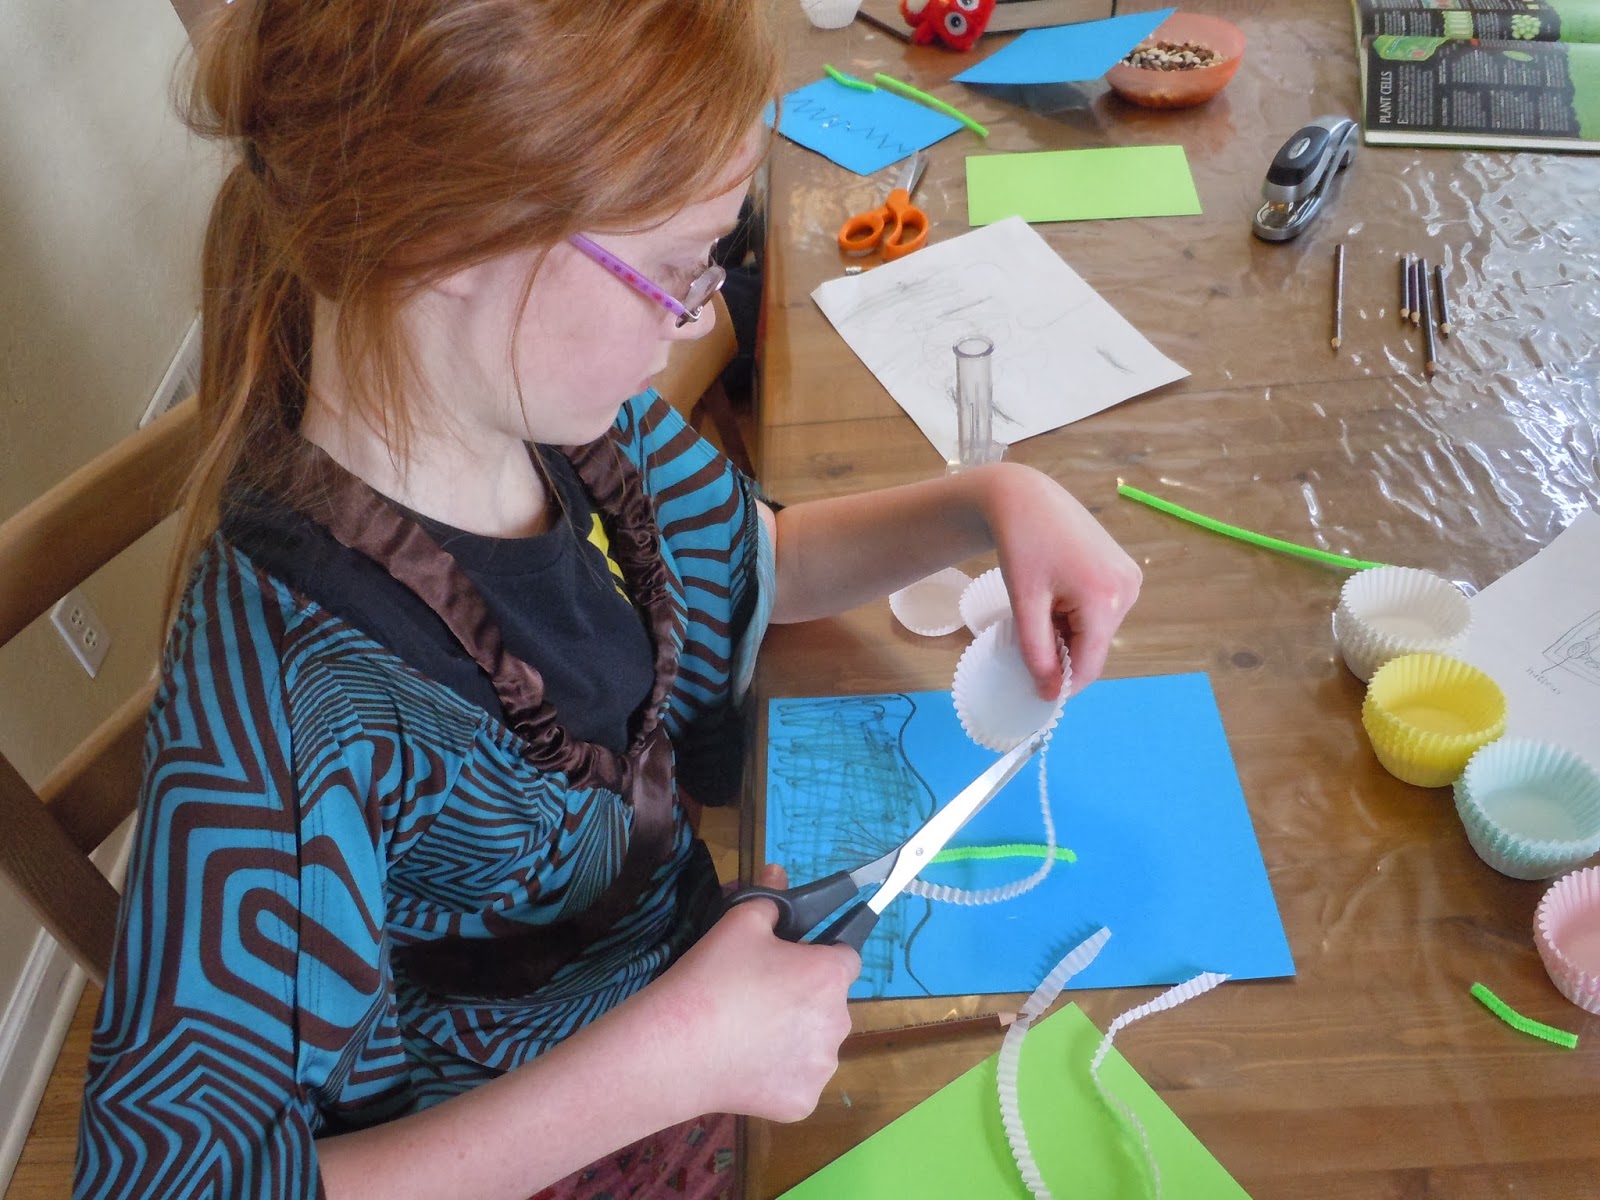
We didn't spend a lot of time talking about food chains and food webs because my children already have a pretty firm understanding of those concepts. Since we are studying animals again (we started this time with life cycles, moved to food chains, are starting habitats next week and then we'll finish up with anatomy), I thought we would do a little refresher on all the key concepts we've talked about before.
Besides, it gave us an excuse to read Dory Story again, and that always pleases my kids.
Dory Story by Jerry Pallotta never fails to make my children giggle at the end. You'll like it too.
Showing posts with label Science. Show all posts
June 6, 2014
May 29, 2014
Trying to Get Back Into a Groove
We are trying to get back into the swing of school around here, but since there are still unpacked boxes and unexpected glitches (AC went on the blitz just as Utah hit 90 degree temps), there is still more "trying" than actual "groove."
Since we took so much time off for the move, we have a lot of material already planned and waiting to happen. That is really, really, really nice for me. I went to my library list and requested the books for life cycles and castles and knights.
The first thing we did was read some books about life cycles.
The kids were thrilled to read about sea turtles and kept referring to Diego and Wild Kratts when referencing information not in the book. The kids also enjoyed reading about salmon since we all agree they are totally weird. Everyone loves butterflies.
These books were good--about as good as any animal books.
Then we read our very favorite life cycle book. It is a Gold Star book for sure.
The story follows Dahlia the dragonfly as she emerges from the water still a nymph, but sheds her exoskeleton on live insect TV. My children love the end. The author is Heather Lynn Miller and you should DEFINITELY check this book out if you are studying life cycles, and also if you are not. It is just fun.
After reading about life cycles we created our own life cycle charts.
Cowen's butterfly.
Emeline's sea turtle.
Emeline's salmon.
Miriam's salmon.
I was going to use an internet freebie to aid in organizing our charts but when I tried to print I learned that the printer wasn't connected. Sigh. I'm hoping my hubby has time to do that tonight. If you want a free generic life cycle chart that will work for any animal, go here: http://www.teacherspayteachers.com/Product/Life-Cycle-Map-958122.
There are a bunch of life cycle freebies on Teachers Pay Teachers. I think it is worth it to make an account. I find it very helpful because you can search for a topic (ex: life cycle) and then click on "free" under "Prices" on the left side of your screen. Then you can see all the freebies available for that topic. I've found some great stuff.
But remember the true point of this post: read This is Your Life Cycle!
Since we took so much time off for the move, we have a lot of material already planned and waiting to happen. That is really, really, really nice for me. I went to my library list and requested the books for life cycles and castles and knights.
The first thing we did was read some books about life cycles.
The kids were thrilled to read about sea turtles and kept referring to Diego and Wild Kratts when referencing information not in the book. The kids also enjoyed reading about salmon since we all agree they are totally weird. Everyone loves butterflies.
These books were good--about as good as any animal books.
Then we read our very favorite life cycle book. It is a Gold Star book for sure.
The story follows Dahlia the dragonfly as she emerges from the water still a nymph, but sheds her exoskeleton on live insect TV. My children love the end. The author is Heather Lynn Miller and you should DEFINITELY check this book out if you are studying life cycles, and also if you are not. It is just fun.
After reading about life cycles we created our own life cycle charts.
Cowen's butterfly.
Emeline's salmon.
Miriam's salmon.
I was going to use an internet freebie to aid in organizing our charts but when I tried to print I learned that the printer wasn't connected. Sigh. I'm hoping my hubby has time to do that tonight. If you want a free generic life cycle chart that will work for any animal, go here: http://www.teacherspayteachers.com/Product/Life-Cycle-Map-958122.
There are a bunch of life cycle freebies on Teachers Pay Teachers. I think it is worth it to make an account. I find it very helpful because you can search for a topic (ex: life cycle) and then click on "free" under "Prices" on the left side of your screen. Then you can see all the freebies available for that topic. I've found some great stuff.
But remember the true point of this post: read This is Your Life Cycle!
March 21, 2014
Cell Unit: Intro to Microbiology
If I should ever recover from the battle of keeping my house clean to sell (done with that now--our house sold!), I am going to start doing some homeschooling that doesn't include Real Estate 101 as the only primary subject. Right now we have a two week breathing space before packing, moving, and unpacking, which is the perfect amount of time to start and finish the unit on cells that I already have put together. While this is hardly an exhaustive microbiology unit it is perfect for the amount of time we have. I'm hoping to keep the microscope handy and let the kids look at slides anytime during the two week period. I might also add in some other fun activities as we go along.
24 March 2014: Monday
Read Cells: The Smallest Unit of Life
Read first five pages of Cells: Images
Watch Bill Nye youtube video about cells: https://www.youtube.com/watch?v=X6N82No4Nz8
Look at some slides under the microscope
25 March 2014: Tuesday
Read rest of Cells: Images
Read Cells: Animal Cells and Plant Cells
Learn how to make our own slides and look at water from the fish tank under the microscope.
26 March 2014: Wednesday
Read chapters one and two of Cells: Organization and Function
Read first half of Hidden Worlds: Looking Through a Scientist's Microscope
Look at more slides under the microscope.
No school on Thursday
28 March 2014: Friday
Read rest of Hidden Worlds: Looking Through a Scientist's Microscope
Read rest of Cells: Organization and Function
Read Cells and Cell Function pgs. 12-15
Play cell matching game found here: http://www.hsprintables.com/files/partsofacelldefinitions.pdf (these were used as flashcards but I think they will work well as a game for my kids)
31 March 2014: Monday
Read Cells and Cell Function pgs. 28-29 and do the enclosed yeast experiment (more on this later)
Start new sourdough starter
Read Cells: Growing and Dividing
Play Parts of a Cell matching game again
1 April 2014: Tuesday
Read Alexander Fleming and His Great Discovery
Read Our Food!
Read Yuck!
Make worksheet cells--plant and animal--found at http://www.teacherspayteachers.com/Product/Lets-Build-A-Plant-Cell-639576. You'll notice the link to the animal cell in the description of the item. Here's the link in case you can't find it: http://www.teacherspayteachers.com/Product/Lets-Build-An-Animal-Cell-641356
2 April 2014: Wednesday
Make individual pizza cells:
crust = cytoplasm
pineapple = lysosome
onion = golgi body
olives = chromatin
ham = nucleus
orange cheese = nucleolus
pepperoni = centrioles
crust border = plasma membrane
spinach = smooth endoplasmic reticulum
spinach + sausage = rough endoplasmic reticulum
sausage = ribosomes
mushrooms = mitochondria
(Since I'm basically a very lazy person, I'll probably simplify our pizza instead of copying exactly any of the excellent examples I found online.) Here's a few examples that I liked: http://journey2excellence.blogspot.com/2011/09/cells-its-whats-for-dinner.html;
http://www.childrensmuseum.org/blog/childrens-museum/saturday-science-homemade-plant-cell-pizza.
Make big plant cell out of paper to use as place mats while we eat our animal cell pizzas.
24 March 2014: Monday
Read Cells: The Smallest Unit of Life
Read first five pages of Cells: Images
Watch Bill Nye youtube video about cells: https://www.youtube.com/watch?v=X6N82No4Nz8
Look at some slides under the microscope
25 March 2014: Tuesday
Read rest of Cells: Images
Read Cells: Animal Cells and Plant Cells
Learn how to make our own slides and look at water from the fish tank under the microscope.
26 March 2014: Wednesday
Read chapters one and two of Cells: Organization and Function
Read first half of Hidden Worlds: Looking Through a Scientist's Microscope
Look at more slides under the microscope.
No school on Thursday
28 March 2014: Friday
Read rest of Hidden Worlds: Looking Through a Scientist's Microscope
Read rest of Cells: Organization and Function
Read Cells and Cell Function pgs. 12-15
Play cell matching game found here: http://www.hsprintables.com/files/partsofacelldefinitions.pdf (these were used as flashcards but I think they will work well as a game for my kids)
31 March 2014: Monday
Read Cells and Cell Function pgs. 28-29 and do the enclosed yeast experiment (more on this later)
Start new sourdough starter
Read Cells: Growing and Dividing
Play Parts of a Cell matching game again
1 April 2014: Tuesday
Read Alexander Fleming and His Great Discovery
Read Our Food!
Read Yuck!
Make worksheet cells--plant and animal--found at http://www.teacherspayteachers.com/Product/Lets-Build-A-Plant-Cell-639576. You'll notice the link to the animal cell in the description of the item. Here's the link in case you can't find it: http://www.teacherspayteachers.com/Product/Lets-Build-An-Animal-Cell-641356
2 April 2014: Wednesday
Make individual pizza cells:
crust = cytoplasm
pineapple = lysosome
onion = golgi body
olives = chromatin
ham = nucleus
orange cheese = nucleolus
pepperoni = centrioles
crust border = plasma membrane
spinach = smooth endoplasmic reticulum
spinach + sausage = rough endoplasmic reticulum
sausage = ribosomes
mushrooms = mitochondria
(Since I'm basically a very lazy person, I'll probably simplify our pizza instead of copying exactly any of the excellent examples I found online.) Here's a few examples that I liked: http://journey2excellence.blogspot.com/2011/09/cells-its-whats-for-dinner.html;
http://www.childrensmuseum.org/blog/childrens-museum/saturday-science-homemade-plant-cell-pizza.
Make big plant cell out of paper to use as place mats while we eat our animal cell pizzas.
March 18, 2014
Dyeing Silk
Each Christmas my husband's grandmother has me choose presents for the children. I think of it as the "bonus present" for the kids and I have a tendency to buy presents I think my children will love but am not positive are worth the money. Experimental gifting.
This year, I jumped on the bandwagon and had great-grandma get the kids silk, which we dyed on Christmas Eve. It was actually the perfect day to do it because the kids loved the whole process and it helped the time go by faster for them.
I'm sure you've seen this idea floating around the internets. I purchased the silks at http://www.dharmatrading.com. I bought each child three silks: a really long skinny one (I wish they had a bigger square or rectangle option), a cape-sized one, and a slightly smaller than cape-sized one. Harriet and Oskar each received a handkerchief sized one instead of the long, skinny one. Here's the order form I used: http://www.dharmatrading.com/scarves/silk/habotai-scarves-8mm.html. The actual sizes I ordered were 22 x 90; 44 x 44; 35 x 35; and the small ones for the two youngest were 30 x 30.
We did the whole "kool-aid as silk dye" approach instead of spending the money for a traditional fabric dye. I highly recommend going the cheaper route. The kool-aid dyeing process was extremely easy, surprisingly fast, and resulted in lovely colors. We played around with mixing the colors and learned quite a bit. One thing we learned is that blue overtakes green very quickly so the greenish-blues we were trying for usually turned out bluish-green instead.
Cowen had a fun time being the photographer for me.
We also learned that any color that involved even the smallest amount of red required four times the amount of rinsing time.
Harriet's purple--the first silk we did.
Light blue.
Light green (my favorite of all the colors).
Pink.
The dye came off our hands in a day or two--sooner than I expected.
Eli with one of his silks.
Some of the colors: dark green (green mixed with blue), orange, light yellow (a favorite of almost everyone), pink, purple.
There are numerous places online where you can find precise instructions on how to do the dyeing. Basically you take two to four (there are disagreements about this--we used two for most the projects but sometimes two and a half for fun color combos) kool-aid packets, dump them in water mixed with vinegar, stir it around, add the silk, stir that around, cover the whole thing with plastic wrap and microwave for two to four minutes (there are also disagreements about how long to microwave). Then you rinse and dry and then rinse again.
It was easier than it sounded.
Here are some of the websites I looked at before I started: http://rachaelrabbit.blogspot.com/2013/05/kid-friendly-dyeing-making-your-own.html;
http://artfulparent.com/2008/03/dyeing-playsilks-with-kool-aid.html;
http://lunamothmama.wordpress.com/tag/kool-aid-dyeing/;
http://www.triedandtrueblog.com/kool-aid-dyed-playsilks/ (this one is the most helpful because it has a color chart).
The big question is, of course, did the children like their present? That's a hard one. The boys, Cowen and Eli, wore the silks pretty much every day after we made them until I packed up all the toys earlier this month (we're trying to sell our house). So yes, the boys love them.
The girls, on the other hand, didn't use them nearly as much as I expected. I had hoped that the long silks would be useful in tent building because I am tired of my quilts getting dragged all over, but they were too skinny to work well. Harriet wrapped her doll up a few times and the girls made little doll clothes and houses. They were used, just not as much as I had anticipated.
Granted, we made the silks on Christmas Eve, got a bunch of new toys for Christmas, and then packed them away in early March. The long-term play value of the silks is still largely undetermined. I'd have to say that I personally think the long skinny silks were a waste but the two large squares are a great investment. Just for dress-up purposes alone it was well worth the money and time. See Eli below. Seriously awesome.
So try it! You can use science as an excuse to go kool-aid crazy--chemical reactions and all that. As a side note, I really liked wrapping a silk around my head as a turban. Wearing a turban may lead to singing "Arabian Nights" often and loudly. You've been warned.
PS Trying to sell the house is why I've disappeared again.
This year, I jumped on the bandwagon and had great-grandma get the kids silk, which we dyed on Christmas Eve. It was actually the perfect day to do it because the kids loved the whole process and it helped the time go by faster for them.
I'm sure you've seen this idea floating around the internets. I purchased the silks at http://www.dharmatrading.com. I bought each child three silks: a really long skinny one (I wish they had a bigger square or rectangle option), a cape-sized one, and a slightly smaller than cape-sized one. Harriet and Oskar each received a handkerchief sized one instead of the long, skinny one. Here's the order form I used: http://www.dharmatrading.com/scarves/silk/habotai-scarves-8mm.html. The actual sizes I ordered were 22 x 90; 44 x 44; 35 x 35; and the small ones for the two youngest were 30 x 30.
We did the whole "kool-aid as silk dye" approach instead of spending the money for a traditional fabric dye. I highly recommend going the cheaper route. The kool-aid dyeing process was extremely easy, surprisingly fast, and resulted in lovely colors. We played around with mixing the colors and learned quite a bit. One thing we learned is that blue overtakes green very quickly so the greenish-blues we were trying for usually turned out bluish-green instead.
Cowen had a fun time being the photographer for me.
We also learned that any color that involved even the smallest amount of red required four times the amount of rinsing time.
Harriet's purple--the first silk we did.
Light blue.
Light green (my favorite of all the colors).
Pink.
The dye came off our hands in a day or two--sooner than I expected.
Eli with one of his silks.
Some of the colors: dark green (green mixed with blue), orange, light yellow (a favorite of almost everyone), pink, purple.
There are numerous places online where you can find precise instructions on how to do the dyeing. Basically you take two to four (there are disagreements about this--we used two for most the projects but sometimes two and a half for fun color combos) kool-aid packets, dump them in water mixed with vinegar, stir it around, add the silk, stir that around, cover the whole thing with plastic wrap and microwave for two to four minutes (there are also disagreements about how long to microwave). Then you rinse and dry and then rinse again.
It was easier than it sounded.
Here are some of the websites I looked at before I started: http://rachaelrabbit.blogspot.com/2013/05/kid-friendly-dyeing-making-your-own.html;
http://artfulparent.com/2008/03/dyeing-playsilks-with-kool-aid.html;
http://lunamothmama.wordpress.com/tag/kool-aid-dyeing/;
http://www.triedandtrueblog.com/kool-aid-dyed-playsilks/ (this one is the most helpful because it has a color chart).
The big question is, of course, did the children like their present? That's a hard one. The boys, Cowen and Eli, wore the silks pretty much every day after we made them until I packed up all the toys earlier this month (we're trying to sell our house). So yes, the boys love them.
The girls, on the other hand, didn't use them nearly as much as I expected. I had hoped that the long silks would be useful in tent building because I am tired of my quilts getting dragged all over, but they were too skinny to work well. Harriet wrapped her doll up a few times and the girls made little doll clothes and houses. They were used, just not as much as I had anticipated.
Granted, we made the silks on Christmas Eve, got a bunch of new toys for Christmas, and then packed them away in early March. The long-term play value of the silks is still largely undetermined. I'd have to say that I personally think the long skinny silks were a waste but the two large squares are a great investment. Just for dress-up purposes alone it was well worth the money and time. See Eli below. Seriously awesome.
So try it! You can use science as an excuse to go kool-aid crazy--chemical reactions and all that. As a side note, I really liked wrapping a silk around my head as a turban. Wearing a turban may lead to singing "Arabian Nights" often and loudly. You've been warned.
PS Trying to sell the house is why I've disappeared again.
February 4, 2014
Bean Seed in a CD Case
Last post about our plant unit. We planted lima bean seeds in clear cd cases so we could watch the roots grow. No, this was not an original idea of mine. I found the idea at: http://www.2busybrunettes.com/2012/03/08/its-time-to-spill-the-beans/. We started out really dedicated to the idea and planted and watered with care.
Then we had some sprouting and root growing action.
See--it was going really well!
And then we got busy with our next unit and I forgot about the beans for a few days (they were pretty hidden behind the blinds where we put them to get adequate sunlight). Sadly, due to neglect, the plants never got bigger than the picture posted above. Besides the lack of watering, the cd cases were all knocked off the window ledge periodically resulting in loss of important soil.
What we learned:
1) this works beautifully and you should all try it if you are studying plants;
2) put the cd cases somewhere secure so they won't fall and lose soil;
3) water them regularly (I'm just full of unexpected insights today, aren't I?);
4) even if they die much learning takes place.
February 1, 2014
Terrariums
As part of our plant unit we made terrariums. My hubby found all the containers/tins at local thrift shops. We went and gathered oolitic sand ourselves to put in the bottom of the terrariums. The decorative rocks were all collected by us and polished in our tumbler during our rock unit. I loved how both units were utilized in the terrarium making.
Miriam's terrarium for her room.
Cowen's terrarium for his room.
Some of the smaller tin terrariums we made. Sadly, these terrariums have experienced some sad deaths. It makes no sense to me that the terrariums that are downstairs in the kids' rooms with no direct sunlight are thriving while the terrariums that sit on my kitchen table drenched in sunlight for half of the day are not doing as well.
I do not have a green thumb.
The rubbery looking plants are doing better than the non-rubbery looking plants. We found all our plants in the succulent section of the nursery. I hoped succulent = indestructible but, sadly, that was not the case.
Overall, though, we loved this project. When we have a larger home the kids and I want to make one really large terrarium. There are tons of cute terrarium accessories at the nursery we went to (JJ's Nursery in Layton, UT for those of you who live in my neck of the woods). There were little toadstools and lanterns, and tables, and fairies, and gnomes, and animals. There were whole scenes you could create by including things like bridges and gazebos.
The cutest thing ever was the little Christmas terrarium they had. It had reindeer and Santa and little Christmas lights, and the cutest little birdhouses covered in snow. Loved it!! Seasonal terrariums! That's the kind of decorating I might be able to manage. :)
Miriam's terrarium for her room.
Cowen's terrarium for his room.
Some of the smaller tin terrariums we made. Sadly, these terrariums have experienced some sad deaths. It makes no sense to me that the terrariums that are downstairs in the kids' rooms with no direct sunlight are thriving while the terrariums that sit on my kitchen table drenched in sunlight for half of the day are not doing as well.
I do not have a green thumb.
The rubbery looking plants are doing better than the non-rubbery looking plants. We found all our plants in the succulent section of the nursery. I hoped succulent = indestructible but, sadly, that was not the case.
Overall, though, we loved this project. When we have a larger home the kids and I want to make one really large terrarium. There are tons of cute terrarium accessories at the nursery we went to (JJ's Nursery in Layton, UT for those of you who live in my neck of the woods). There were little toadstools and lanterns, and tables, and fairies, and gnomes, and animals. There were whole scenes you could create by including things like bridges and gazebos.
The cutest thing ever was the little Christmas terrarium they had. It had reindeer and Santa and little Christmas lights, and the cutest little birdhouses covered in snow. Loved it!! Seasonal terrariums! That's the kind of decorating I might be able to manage. :)
January 22, 2014
Build a Flower
Pinterest has really increased my ability to find fun activities quickly. Thank you, dear sisters, who forced me to learn how to use it. I'm what some people might call "technology resistant." In fact, my hubby gave me his old cell phone for Christmas. It is a buy minutes as you go type thing. I was EXTREMELY resistant to having a cell phone because I resent deeply church meetings where half the time is wasted by someone "quickly" looking something up on their blasted cell phone. Among other latent cell phone hatred issues. I only agreed to carry a cell phone with me when I'm in a vehicle because I get lost so often and my sweet husband worries about me. To placate the man in charge of protecting me and my children from all harm (to the best of his ability), I now have a cell phone in my purse.
Ahem, I do believe I got off topic there for a moment. What I was saying is that I like Pinterest for homeschooling endeavors. It is where I found the idea for making a 3D flower. You can find the original idea here: http://crayonbits.blogspot.com/search/label/Plants.
Pollen, the beans were pollen. See, I knew Miriam would remember for me. Thanks for your diagram, baby girl.
After the kids made their flowers they had to make a gazillion bouquets of flowers (neither labeled nor attached to a sheet of paper). That worked out beautifully as we had put together some Christmas things for some of the elderly ladies in our area but we didn't have enough for everyone. The bouquets filled in nicely so when we went caroling, all the sweet ladies had a present from us as well.
Another fun day of homeschooling!
PS Today was actually a really fun day of homeschooling. I got distracted watching some of my favorite show numbers from musicals (I was one of the music kids in school) on youtube and the kids and I spent twenty minutes laughing at some of the best ones. For example, "A Girl Who Cain't Say No," "Anything You Can Do I Can Do Better," a bunch from Hugh Jackman's Oklahoma (fabulous!), "Sobbin' Women" (of course), "I'm Going to Wash that Man Right Out of My Hair," etc. Then we spent the next little while dancing and being crazy. No, we didn't get our planned Viking activity done but who cares--music is always most important at this house. :)
PPS Watch this Hugh Jackman clip immediately, it will brighten your day. The kids and I watched it twice, laughed uproariously, and then I immediately posted it to my family's website. It is that funny.
PPPS I don't actually have anything else to add--I just think it is fun to get carried away with extra thoughts and PPPS is funny.
PPPPS Even funnier.
January 21, 2014
Jello Cell
I know a lot of people have made various edible cells and that would have been fun, but we made an almost edible plant cell using the directions found in Janet VanCleave's book Plants. She has loads of great ideas in her book and we did several of them, but not nearly as many as I planned due to unexpected craziness before Christmas.
Looking at examples of plant cells for their own diagram in the book World of Plants by Usborne. I highly recommend this book as a reference. The pictures were awesome and everything was laid out really neatly and well. This is one I want to buy for my own collection.
Harriet loved squishing the jello around. She turns three in February (how did this happen??) and she has decided, most firmly, that she can do all the school stuff the older kids do. I love her diagram. I also love the note she carefully wrote for me the other day; asking me to spell out all the words, followed by her carefully writing down each letter (no, they didn't look like letters but they looked lovely nonetheless). She also reads with me, which consists of her picking a book she has memorized and reading it to me by carefully moving her finger from one word to the next as she tells me the story. I love this age so much!
This kid is in the loud stage where he sounds like he is dying if everything isn't just exactly how he wants it. He's also started fighting against naps (he's five, but my kids all needed naps until then) for the first time. He used to tell me when it was nap time and then go lay down. I only have him nap about every third day, but that is pushing his capacity to cope. Today I made him lay down and he yelled and screamed like he was being eaten by cannibals and then slept like one of the dead for three hours and still went straight to sleep at his 7:30 bedtime. I might need to bump his nap schedule back to every other day. I swear motherhood is about carefully orchestrating everything just so to prevent and redirect and anticipate.
After we made our cells I broke out the microscope for the first time -- oohh, ahhh -- and the kiddos went nutso they loved it so much. I bought a set of pre-prepared slides so we looked at all the plant slides in the set. Unfortunately, the microscope had to be put away before the children wanted it to because I got tired of the jostling and muttering and open hostilities about whose turn it was and how long each turn had been and who was going next.
One highlight of the day for me was harassing my son, Cowen, about letting me poke him with something sharp so we could look at blood under the microscope. I had to niggle him a little about his masculinity being called into question if he refused. He couldn't let the girls be poked! That wouldn't be gentlemanly. He conceded the point about the girls readily enough and eventually said I could poke him (I didn't). I loved the manful squaring of the shoulders and sweet stoicism. I adore boys.
Random side note, if you have a man-child and haven't read Why Gender Matters by Leonard Sax, you should repent immediately and go read it. It is a really fantastic look at the actual physiological differences between boys and girls (way more than I ever dreamt) and some of the emotional/mental differences as well. When I taught education students at a local university, I always had them read this book.
Subscribe to:
Posts (Atom)