Each Christmas my husband's grandmother has me choose presents for the children. I think of it as the "bonus present" for the kids and I have a tendency to buy presents I think my children will love but am not positive are worth the money. Experimental gifting.
This year, I jumped on the bandwagon and had great-grandma get the kids silk, which we dyed on Christmas Eve. It was actually the perfect day to do it because the kids loved the whole process and it helped the time go by faster for them.
I'm sure you've seen this idea floating around the internets. I purchased the silks at http://www.dharmatrading.com. I bought each child three silks: a really long skinny one (I wish they had a bigger square or rectangle option), a cape-sized one, and a slightly smaller than cape-sized one. Harriet and Oskar each received a handkerchief sized one instead of the long, skinny one. Here's the order form I used: http://www.dharmatrading.com/scarves/silk/habotai-scarves-8mm.html. The actual sizes I ordered were 22 x 90; 44 x 44; 35 x 35; and the small ones for the two youngest were 30 x 30.
We did the whole "kool-aid as silk dye" approach instead of spending the money for a traditional fabric dye. I highly recommend going the cheaper route. The kool-aid dyeing process was extremely easy, surprisingly fast, and resulted in lovely colors. We played around with mixing the colors and learned quite a bit. One thing we learned is that blue overtakes green very quickly so the greenish-blues we were trying for usually turned out bluish-green instead.
Cowen had a fun time being the photographer for me.
We also learned that any color that involved even the smallest amount of red required four times the amount of rinsing time.
Harriet's purple--the first silk we did.
Light blue.
Light green (my favorite of all the colors).
Pink.
The dye came off our hands in a day or two--sooner than I expected.
Eli with one of his silks.
Some of the colors: dark green (green mixed with blue), orange, light yellow (a favorite of almost everyone), pink, purple.
There are numerous places online where you can find precise instructions on how to do the dyeing. Basically you take two to four (there are disagreements about this--we used two for most the projects but sometimes two and a half for fun color combos) kool-aid packets, dump them in water mixed with vinegar, stir it around, add the silk, stir that around, cover the whole thing with plastic wrap and microwave for two to four minutes (there are also disagreements about how long to microwave). Then you rinse and dry and then rinse again.
It was easier than it sounded.
Here are some of the websites I looked at before I started: http://rachaelrabbit.blogspot.com/2013/05/kid-friendly-dyeing-making-your-own.html;
http://artfulparent.com/2008/03/dyeing-playsilks-with-kool-aid.html;
http://lunamothmama.wordpress.com/tag/kool-aid-dyeing/;
http://www.triedandtrueblog.com/kool-aid-dyed-playsilks/ (this one is the most helpful because it has a color chart).
The big question is, of course, did the children like their present? That's a hard one. The boys, Cowen and Eli, wore the silks pretty much every day after we made them until I packed up all the toys earlier this month (we're trying to sell our house). So yes, the boys love them.
The girls, on the other hand, didn't use them nearly as much as I expected. I had hoped that the long silks would be useful in tent building because I am tired of my quilts getting dragged all over, but they were too skinny to work well. Harriet wrapped her doll up a few times and the girls made little doll clothes and houses. They were used, just not as much as I had anticipated.
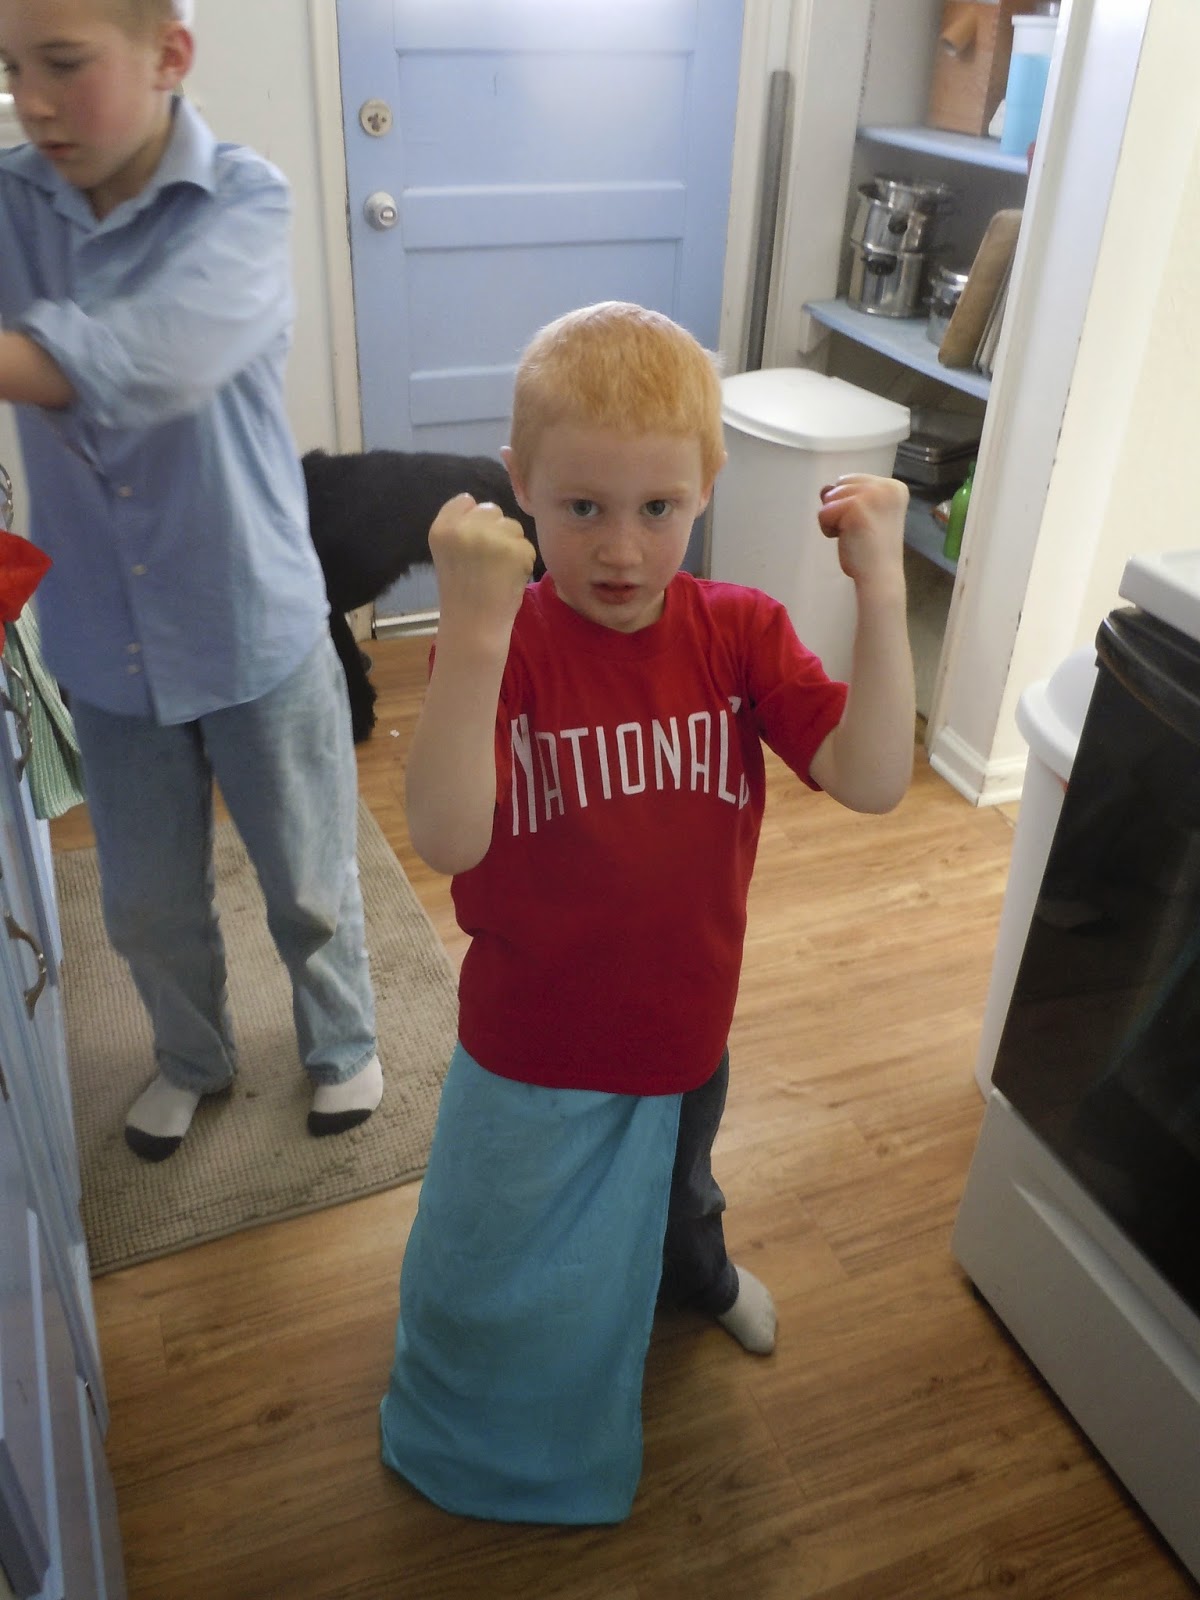
Granted, we made the silks on Christmas Eve, got a bunch of new toys for Christmas, and then packed them away in early March. The long-term play value of the silks is still largely undetermined. I'd have to say that I personally think the long skinny silks were a waste but the two large squares are a great investment. Just for dress-up purposes alone it was well worth the money and time. See Eli below. Seriously awesome.
So try it! You can use science as an excuse to go kool-aid crazy--chemical reactions and all that. As a side note, I really liked wrapping a silk around my head as a turban. Wearing a turban may lead to singing "Arabian Nights" often and loudly. You've been warned.
PS Trying to sell the house is why I've disappeared again.
Showing posts with label Art. Show all posts
March 18, 2014
October 18, 2013
Middle Ages Mosaics
With great sadness I have to admit that we've been doing a lot more science than history these days. My kids are warped and weird and love science. Argh! I have managed to work history in here and there. We skimmed through the book in the above pic on the Byzantine Empire and then we made mosaics.
I got a bunch of paint samples from Lowe's, let the kids envision their picture, pick a cardstock color, draw their pictures, choose their paint samples, cut the samples, and then glue the little pieces onto their picture.
That was a terribly long sentence. I apologize.
When we were done for the day I tried to throw away the excess tiny pieces of paper and my children had a collective nervous breakdown. They had more mosaics to make! More creative energies to expend!
There is now a ziploc bag of cut up paint samples in our craft drawer. Fair warning--this is not a tidy craft and it lingers.
Cowen's wolf.
Miriam's . . . something.
Harriet's artwork.
Emeline's Cutie Thing.
Miriam's Flowers.
I also showed my children the incredible mosaic my sister made when she was in high school. Here's the linky. You should see it for the mosaic but also for the cut paper art around the edge. Crazy awesome, Kami!
http://thelatorrefamily.blogspot.com/2013/09/beehives-and-mosai.html
I got a bunch of paint samples from Lowe's, let the kids envision their picture, pick a cardstock color, draw their pictures, choose their paint samples, cut the samples, and then glue the little pieces onto their picture.
That was a terribly long sentence. I apologize.
When we were done for the day I tried to throw away the excess tiny pieces of paper and my children had a collective nervous breakdown. They had more mosaics to make! More creative energies to expend!
There is now a ziploc bag of cut up paint samples in our craft drawer. Fair warning--this is not a tidy craft and it lingers.
Cowen's wolf.
Miriam's . . . something.
Harriet's artwork.
Emeline's Cutie Thing.
Miriam's Flowers.
I also showed my children the incredible mosaic my sister made when she was in high school. Here's the linky. You should see it for the mosaic but also for the cut paper art around the edge. Crazy awesome, Kami!
http://thelatorrefamily.blogspot.com/2013/09/beehives-and-mosai.html
September 23, 2013
New Art Supplies
Have any of you ever felt like buying the supplies is the easy part of so much of homeschooling? I can buy the art supplies, no problem. But then, what to do with them? I don't know how to create any form of art and I loathe trying. Seriously, I was the kid in elementary school getting frustrated whenever there was an art or coloring assignment. Except maps--I love coloring maps because everything is so precise.
I continue to buy the art supplies and let me kids play around with them but every now and again I wish I had the capacity to really teach them something about creating art.
On the bright side, they sure do love their new easels!
December 29, 2012
How To Be A Hero
Before Christmas I let the kids get a little crafty. We used the ends of Christmas trees that they give away free at the Lowe's Christmas tree center. I had no idea how to decorate the things or what to do with them in general so I just pulled out every crafting item in our house and let the kids go to town.
You know what? And this is important mothering information: If you let your children use a glue gun, you will be their hero. I had no idea motherhood was so simple.
Sadly, the next day, when I said we were doing our Saturday's work, I fell instantly out-of-favor. Popularity is so hard to maintain.
My "Christmas Ornament Thingy." It turned out pretty sad but I was proud of myself for coming up with an idea. Still am.
Emeline.
Cowen.
Eli.
A close-up of Eli's wolf ornament.
Cowen's Whatzit.
Pretty girl.
Miriam's Thing-A-Ma-Jig.
Love her.
Pull out a glue gun. See what happens.
You know what? And this is important mothering information: If you let your children use a glue gun, you will be their hero. I had no idea motherhood was so simple.
Sadly, the next day, when I said we were doing our Saturday's work, I fell instantly out-of-favor. Popularity is so hard to maintain.
My "Christmas Ornament Thingy." It turned out pretty sad but I was proud of myself for coming up with an idea. Still am.
Emeline.
Cowen.
Eli.
A close-up of Eli's wolf ornament.
Cowen's Whatzit.
Pretty girl.
Miriam's Thing-A-Ma-Jig.
Love her.
Pull out a glue gun. See what happens.
December 9, 2012
Artastic
Quite some time ago over at Latter-day Homeschooling there was a blog post about art. Specifically, what do people do to teach art? There were several helpful comments, but one comment--by Birrd of Tales From Toad Hall--has proven especially helpful for our family. In her comment she said that she used Artistic Pursuits with her children and loved it.
Being completely and totally art handicapped, I looked up every suggestion given in the comments to that post and eventually decided to buy Artistic Pursuits for my family. I'm so glad I did! Here's a link to their website in case you want to learn more about the product from the source.
Basically what I love about this program is that I don't do anything and my kids are still creating all this fabulous art. The "textbook" is set up into three-page lessons. The first page introduces the topic, the second page showcases a famous painting that demonstrates what the lesson is talking about, and the third page has the student assignment plus examples of the assignment done by kids.
In our family it works like this: when the kids get their regular work done in a timely manner I tell Miriam to get down the art textbook. She pulls it out, reads the lesson to everyone, they all study the famous painting, Miriam reads them the assignment and gets out all the materials needed. Then the kids sit around the table and do the assignment.
I have a very important job in this process! I am the official ooher and aaher. When the kids show me their completed assignment I ooh and aah and tell them how wonderful they are. And I mean it! All of my kids produce better art than I could and I am impressed.
Another thing I like about this program besides how straight-forward it is and how well organized is that all the materials needed for every single assignment in the book is listed in the front. You can buy a pre-put together bag with everything you need for 1-2 students from the website and I think I will do that next time, but I was able to take my list to the store and buy what I needed for 4 kids. Now I don't worry about whether or not I have the supplies on hand. I do! And Miriam knows where they are!
Here is a small sampling of the artwork my children have created this year in conjunction to this art program:
Miriam's "House": Lesson 3, Artists Look.
In short, I really, really, really love this curriculum. I love that there is a famous painting for the children to examine with each lesson. I love how short and focused each lesson is. I love that art history is also incorporated (we bought this book out of the series because it has lessons on ancient art so it fits in beautifully with what we're doing in history). I'm a very satisfied customer. And so far, my kids seem pretty thrilled with the program as well.
Subscribe to:
Posts (Atom)